Ionic React Quickstart
ようこそ!このガイドでは、Ionic React 開発の基本を説明します。開発環境のセットアップ、シンプルなプロジェクトの生成、プロジェクト構造の探索、Ionic コンポーネントの動作方法を学びます。最初の実際のアプリを構築する前に Ionic React に慣れるのに最適です。
Ionic React とは何か、React エコシステムにどのように適合するかの高レベルの概要をお探しの場合は、Ionic React の概要を参照してください。
前提条件
始める前に、マシンに Node.js と npm がインストールされていることを確認してください。 次を�実行して確認できます:
node -v
npm -v
Node.js と npm がない場合は、こちらから Node.js をダウンロードしてください(npm が含まれています)。
Ionic CLI でプロジェクトを作成
まず、最新のIonic CLIをインストールします:
npm install -g @ionic/cli
次に、次のコマンドを実行して新しいプロジェクトを作成し、実行します:
ionic start myApp blank --type react

cd myApp
ionic serve
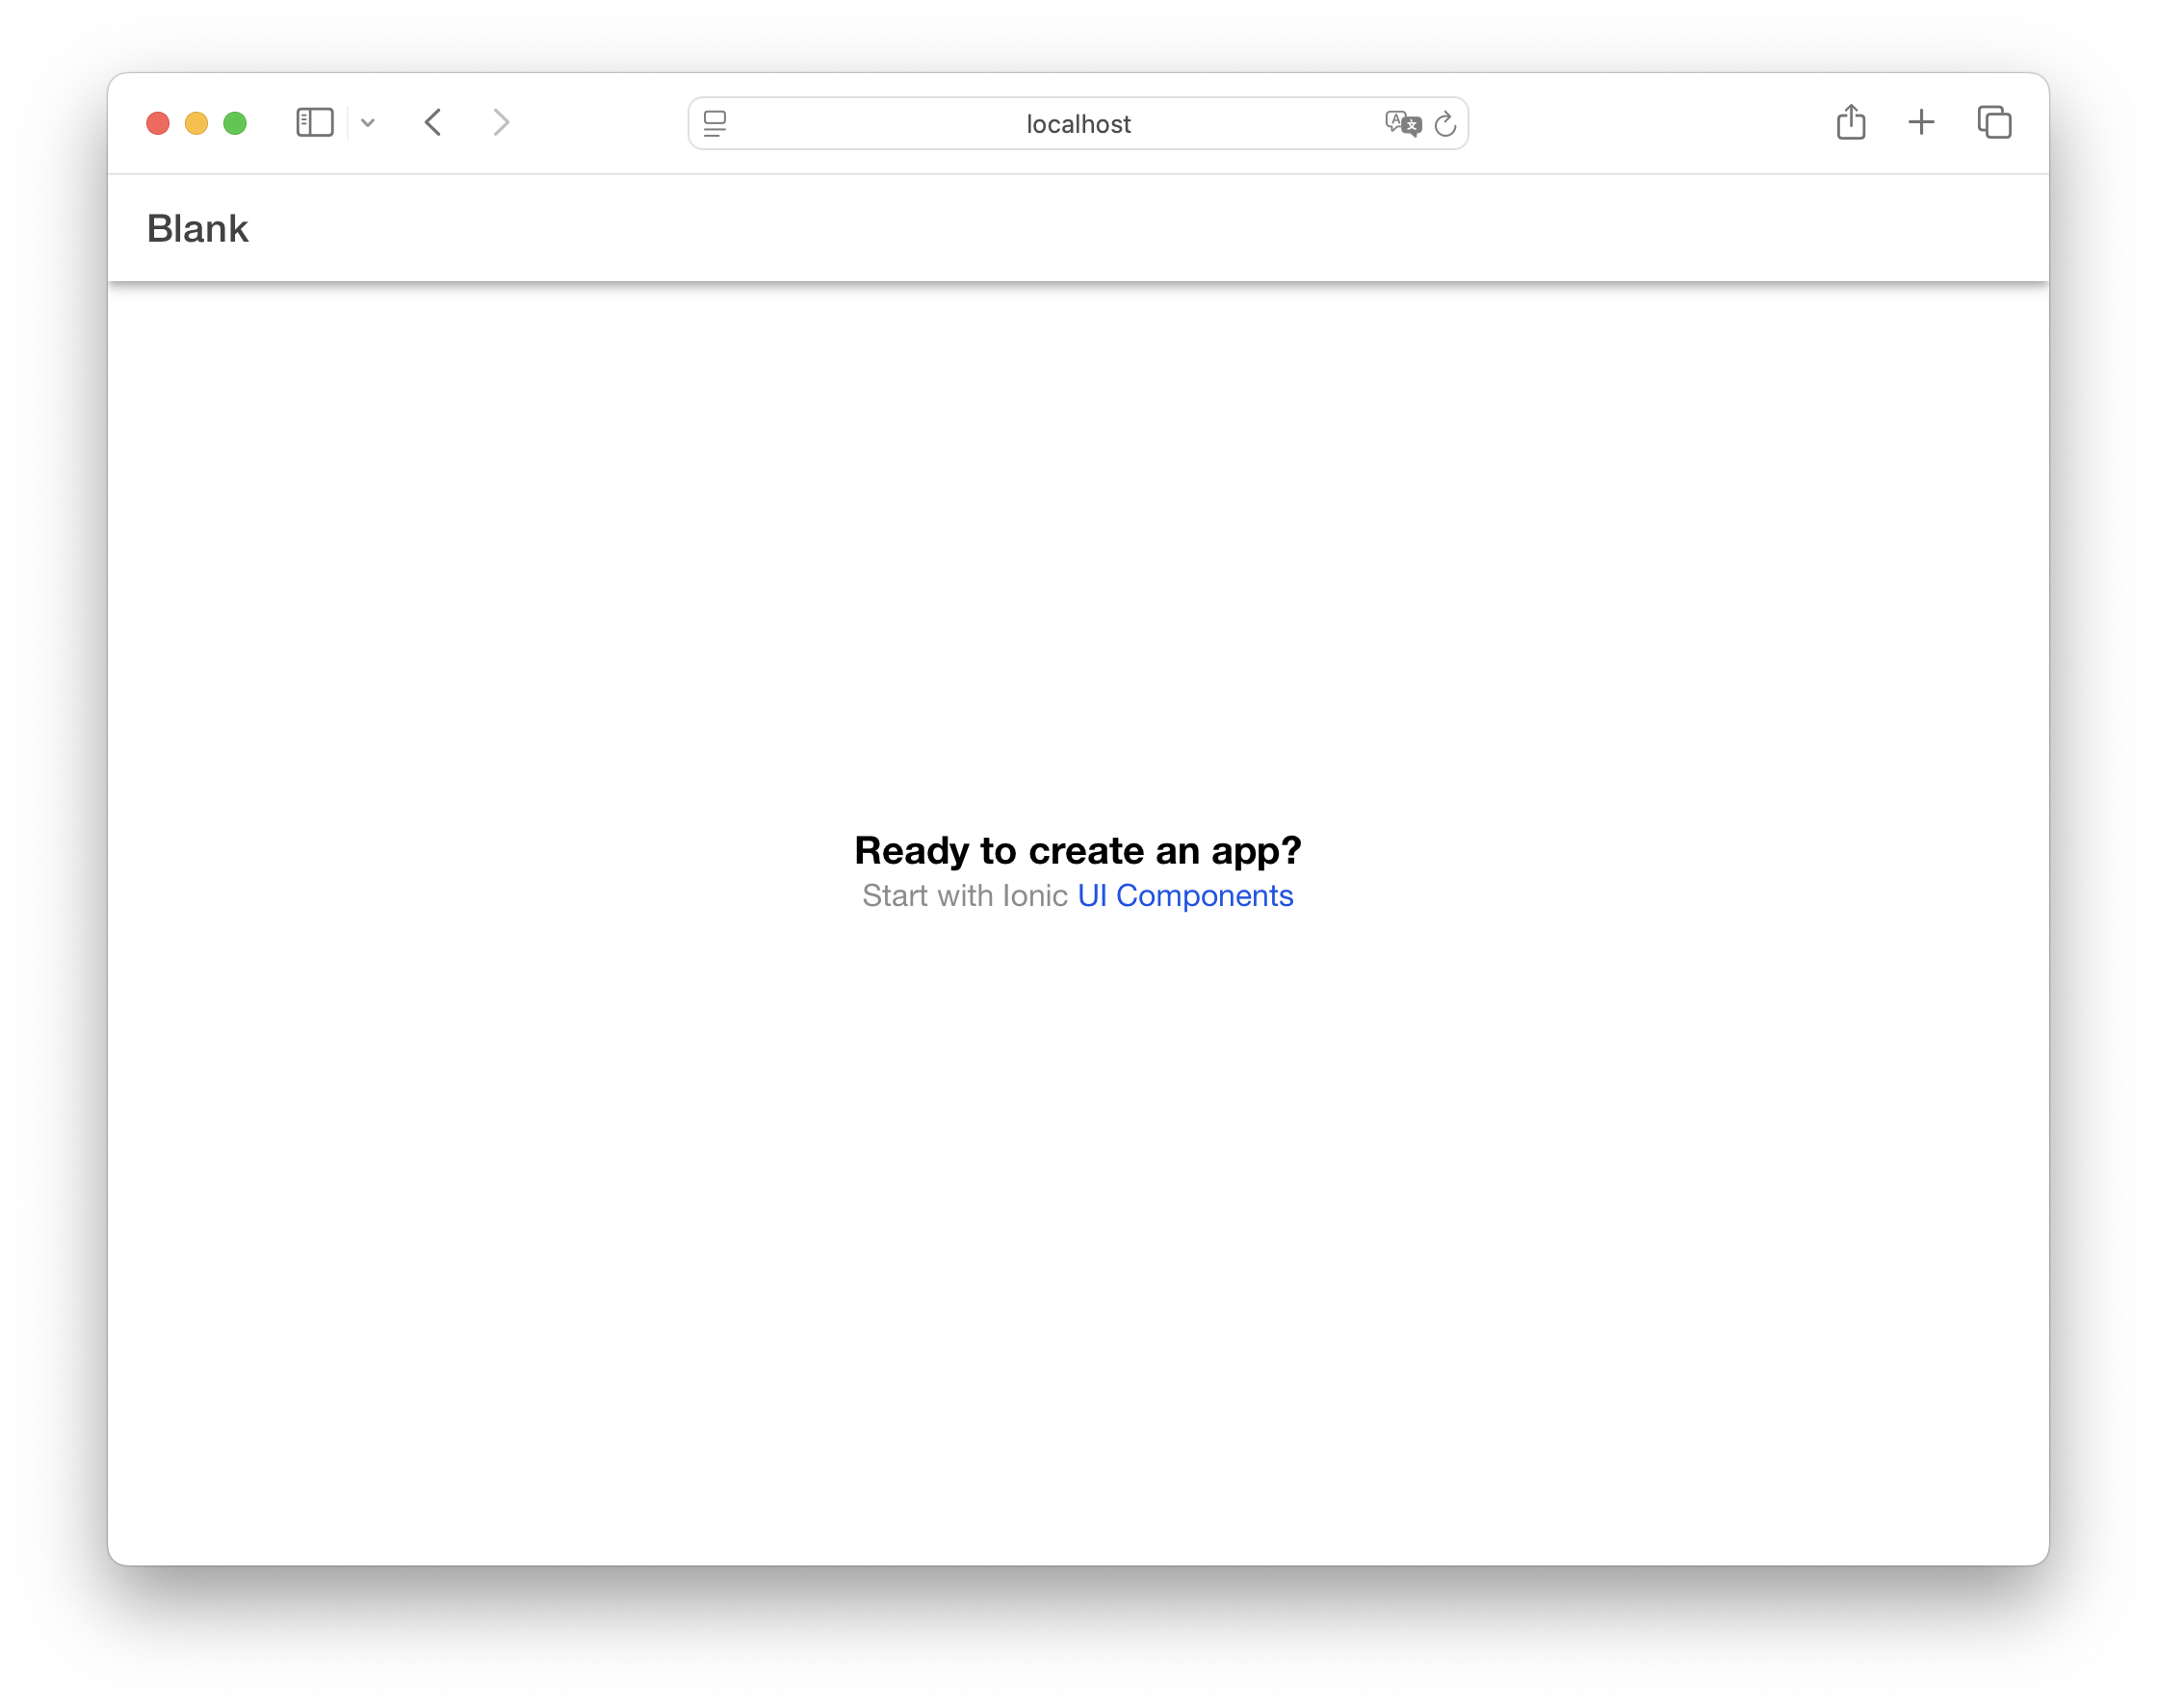
ionic serveを実行すると、プロジェクトがブラウザで開きます。

Explore the Project Structure
Your new app's directory will look like this:
└── src/
    ├── App.tsx
    ├── components
    │   ├── ExploreContainer.css
    │   └── ExploreContainer.tsx
    ├── main.tsx
    └── pages
        ├── Home.css
        └── Home.tsx
以下の例のすべてのファイルパスは、プロジェクトのルートディレクトリを基準にしています。
アプリの構造を理解するために、これらのファイルを見ていきましょう。
View the App Component
The root of your app is defined in App.tsx:
import { Redirect, Route } from 'react-router-dom';
import { IonApp, IonRouterOutlet, setupIonicReact } from '@ionic/react';
import { IonReactRouter } from '@ionic/react-router';
import Home from './pages/Home';

// ..CSS imports...

setupIonicReact();

const App: React.FC = () => (
  <IonApp>
    <IonReactRouter>
      <IonRouterOutlet>
        <Route exact path="/home">
          <Home />
        </Route>
        <Route exact path="/">
          <Redirect to="/home" />
        </Route>
      </IonRouterOutlet>
    </IonReactRouter>
  </IonApp>
);

export default App;
これにより、Ionic のIonAppとIonReactRouterコンポーネントを使用してアプリケーションのルートが設定されます。IonRouterOutletは、ページが表示される場所です。
View Routes
Routes are defined within the IonRouterOutlet in App.tsx:
<IonRouterOutlet>
  <Route exact path="/home">
    <Home />
  </Route>
  <Route exact path="/">
    <Redirect to="/home" />
  </Route>
</IonRouterOutlet>
ルート URL(/)にアクセスすると、Homeコンポーネントが読み込まれます。
View the Home Page
The Home page component, defined in Home.tsx, imports the Ionic components and defines the page template:
import { IonContent, IonHeader, IonPage, IonTitle, IonToolbar } from '@ionic/react';
import ExploreContainer from '../components/ExploreContainer';
import './Home.css';

const Home: React.FC = () => {
  return (
    <IonPage>
      <IonHeader>
        <IonToolbar>
          <IonTitle>Blank</IonTitle>
        </IonToolbar>
      </IonHeader>
      <IonContent fullscreen>
        <IonHeader collapse="condense">
          <IonToolbar>
            <IonTitle size="large">Blank</IonTitle>
          </IonToolbar>
        </IonHeader>
        <ExploreContainer />
      </IonContent>
    </IonPage>
  );
};

export default Home;
これにより、ヘッダーとスクロール可能なコンテンツ領域を持つページが作成されます。IonPageコンポーネントは基本的なページ構造を提供し、すべてのページで使用する必要があります。2 番目のヘッダーは、コンテンツの上部にあるときに表示される折りたたみ可能な大きなタイトルを示し、スクロールダウンすると最初のヘッダーの小さなタイトルを表示するために縮小されます。
Ionic コンポーネントを追加
より多くの Ionic UI コンポーネントで Home ページを強化できます。たとえば、Home.tsxのIonContentの最後にButtonをインポートして追加します:
import { IonButton, IonContent, IonHeader, IonPage, IonTitle, IonToolbar } from '@ionic/react';
// ...existing imports...

const Home: React.FC = () => {
  return (
    <IonPage>
      <IonHeader>
        <IonToolbar>
          <IonTitle>Blank</IonTitle>
        </IonToolbar>
      </IonHeader>
      <IonContent fullscreen>
        {/* ...existing content... */}

        <IonButton>Navigate</IonButton>
      </IonContent>
    </IonPage>
  );
};

export default Home;
Add a New Page
Create a new page at New.tsx:
import { IonBackButton, IonButtons, IonContent, IonHeader, IonPage, IonTitle, IonToolbar } from '@ionic/react';

const New: React.FC = () => {
  return (
    <IonPage>
      <IonHeader>
        <IonToolbar>
          <IonButtons slot="start">
            <IonBackButton defaultHref="/"></IonBackButton>
          </IonButtons>
          <IonTitle>New</IonTitle>
        </IonToolbar>
      </IonHeader>
      <IonContent fullscreen>
        <IonHeader collapse="condense">
          <IonToolbar>
            <IonTitle size="large">New</IonTitle>
          </IonToolbar>
        </IonHeader>
      </IonContent>
    </IonPage>
  );
};

export default New;
これにより、ToolbarにBack Buttonを持つページが作成されます。戻るボタンは、前のページへのナビゲーション、または履歴がない場合は/へのナビゲーションを自動的に処理します。
独自のページを作成する際は、常にIonPageをルートコンポーネントとして使用してください。これは、ページ間の適切な遷移、Ionic コンポーネントが依存する基本 CSS スタイリング、アプリ全体での一貫したレイアウト動作に不可欠です。
Navigate to the New Page
To navigate to the new page, create a route for it by first importing it at the top of App.tsx after the Home import:
import New from './pages/New';
Then, add its route in IonRouterOutlet:
<IonRouterOutlet>
  <Route exact path="/home">
    <Home />
  </Route>
  <Route exact path="/new">
    <New />
  </Route>
  <Route exact path="/">
    <Redirect to="/home" />
  </Route>
</IonRouterOutlet>
Once that is done, update the button in Home.tsx:
<IonButton routerLink="/new">Navigate</IonButton>
React Router のhistoryプロップを使用して、プログラム的にナビゲーションを実行することもできます。詳細については、React Navigation ドキュメントを参照してください。
新しいページにアイコンを追加
Ionic React にはIoniconsがプリインストールされています。IonIconコンポーネントのiconプロパティを設定することで、任意のアイコンを使用できます。
New.tsxのインポートを更新して、IonIconとheartおよびlogoIonicアイコンをインポートします:
import { IonBackButton, IonButtons, IonContent, IonHeader, IonIcon, IonPage, IonTitle, IonToolbar } from '@ionic/react';
import { heart, logoIonic } from 'ionicons/icons';
次に、それらをIonContent内に含めます:
<IonIcon icon={heart} />
<IonIcon icon={logoIonic} />
イン�ポートされた SVG 参照を渡していることに注意してください。文字列としてのアイコン名ではありません。
詳細については、Icon ドキュメントとIonicons ドキュメントを参照してください。
コンポーネントメソッドを呼び出す
コンテンツ領域を下部にスクロールできるボタンを追加しましょう。
Update New.tsx to add a ref on IonContent and a button and some items after the existing icons:
<IonContent ref={content}>
  <IonIcon icon={heart} />
  <IonIcon icon={logoIonic} />

  <IonButton onClick={scrollToBottom}>Scroll to Bottom</IonButton>

  {/* Add lots of content to make scrolling possible */}
  {Array.from({ length: 50 }, (_, i) => (
    <IonItem key={i}>
      <IonLabel>Item {i + 1}</IonLabel>
    </IonItem>
  ))}
</IonContent>
Then, add the imports for the additional components and define the scrollToBottom function:
import { useRef } from 'react';
import { IonButton, IonBackButton, IonButtons, IonContent, IonHeader, IonIcon, IonItem, IonLabel, IonPage, IonTitle, IonToolbar } from '@ionic/react';
import { heart, logoIonic } from 'ionicons/icons';

const New: React.FC = () => {
  const content = useRef<HTMLIonContentElement>(null);

  const scrollToBottom = () => {
    content.current?.scrollToBottom(300);
  };

  return (
    // ...existing template...
  );
};

export default New;
To call methods on Ionic components:
- Create a
reffor the component - Call the method directly on
ref.current
このパターンは、React refs がコンポーネントインスタンスを.currentプロパティに保存するために必要です。
各コンポーネントの利用可能なメソッドは、API ドキュメントのMethodsセクションで見つけることができます。
デバイスで実行
Ionic のコンポーネントは、iOS、Android、PWA のどこでも動作します。モバイルにデプロイするには、Capacitorを使用します:
ionic build
ionic cap add ios
ionic cap add android
ネイティブプロジェクトを IDE で開きます:
ionic cap open ios
ionic cap open android
詳細については、Capacitor の Getting Started ガイドを参照してください。
さらに探索
このガイドでは、Ionic React アプリの作成、ナビゲーションの追加、ネイティブビルド用の Capacitor の導入の基本をカバーしました。さらに深く掘り下げるには、以下を確認してください:
Ionic Reactとネイティブデバイス機能を使用して実際のPhoto Galleryアプリを構築します。
公式Reactドキュメントから、Reactのコアコンセプト、ツール、ベストプラクティスについて詳しく学びます。
React Routerを使用してIonic Reactアプリでルーティングとナビゲーションを処理する方法を発見します。
美しいアプリを構築するためのIonicの豊富なUIコンポーネントライブラリを探索します。
Ionicの強力なテーマ設定システムを使用してアプリの外観と操作性をカスタマイズする方法を学びます。
Capacitorを使用してネイティブデバイス機能にアクセスし、アプリをiOS、Android、Webにデプロイする方法を探索します。